Black streaks on RV siding have ended more than a few campfire evenings early. You come back from a day on the water, glance at the rig, and there they are, running down the gelcoat or aluminum like mascara in a rainstorm. They look worse than they are, but if you attack them with the wrong cleaner or the wrong pad, you can etch the surface, dull the gloss, and create a magnet for even more grime. Getting them off, and keeping them off, is part chemistry, part patience, and part technique.
I have removed black streaks from fiberglass, aluminum, painted steel, and vinyl graphics in every state of neglect, from fresh rain drips to decade-old tar-like trails welded into oxidized gelcoat. The patterns are consistent. The mistakes are predictable. And the fix, if you respect the surface and the process, is straightforward.
What black streaks are made of, and why that matters
Black streaks are a cocktail of airborne soot, road film, rubber from seals, carbon dust from brakes and generators, and the plasticizers and waxes that migrate out of rubber trim. Add humidity and UV. Add a roof that sheds dirty water in concentrated paths. The water carries that grime over the same tracks time after time, then evaporates and leaves behind a dark residue. That residue works its way into the pores of gelcoat and the micro texture of paints and decals. On older RVs, chalking from oxidized gelcoat mixes into the runoff and deepens the stain.
The composition matters because different soils respond to different chemistries. Petroleum films like rubber leach prefer solvent action, but many RV surfaces do not. Mineral deposits and organic grime often lift with mild alkalinity plus surfactants. Acid can brighten aluminum but will haze clear coats and ruin anodized trim. Knowing the soil and the substrate dictates the lightest effective chemistry, which is the goal.
Why streak removal goes wrong
The most common failure is overkill. Someone reaches for a high pH degreaser, scours with a stiff brush, and erases the streaks along with the gloss. Micro-marring shows up weeks later as the section loses its sheen. The second failure is no protection after cleaning. A naked surface grabs dirt faster, so streaks return within the next rain. The third is ignoring the source, usually a dirty roof or deteriorating seals. You end up in an endless cycle, cleaning the sides while the roof keeps painting them black.
I have also seen well-meaning owners use household abrasives, like powdered cleansers meant for sinks. They work on porcelain. They do not belong on gelcoat or painted aluminum. Magic erasers cut fast, but they are micro-abrasives that flatten texture and remove coatings. You can use one strategically in a pinch, but you need to know what you are sacrificing.
Surface-by-surface strategy
Fiberglass gelcoat is the most forgiving, yet it is porous. Black streaks can root into microscopic voids, especially on chalky surfaces. A mild alkaline cleaner with good surfactants, allowed a bit of dwell time and followed by a soft microfiber wipe, usually wins. On highly oxidized gelcoat, the streak stain often sits on a powdery layer of dead resin. In that case, you will need a light polish after cleaning to restore clarity and remove the chalk, then protection to slow it coming back.
Painted aluminum and painted steel like those used on some Class C rigs respond well to gentle pH-neutral shampoos fortified with road-film removers or low pH pre-washes, but avoid strong acids. Clear coats do not like acid. Rinse thoroughly and keep the mitt clean. If a streak does not lift with wash chemistry, step to a dedicated black streak remover approved for painted finishes. Always test behind a ladder rung or lower skirt.
Bare aluminum and anodized trim require caution. Acid brighteners can strip the oxide layer or stain it patchy if you are inconsistent. Stick to neutral or mild alkaline cleaners and agitation with a soft brush, then protect with a sealant that plays well with metal. Avoid strong caustics, which can blacken aluminum instantly.
Vinyl graphics are the weak link. Solvents will ripple the vinyl and fade the ink, and abrasive scrubbing creates matte halos. Use pH-neutral or slightly alkaline cleansers labeled safe for vinyl, work with a plush microfiber towel, and accept that you may need more passes rather than more bite. If the graphic edges are lifting, use even lighter pressure, wipe from graphic toward paint, and avoid hooking an edge.
Step-by-step that respects the surface
Every rig is different, but a baseline workflow keeps you out of trouble and gets you consistent results. Here is the sequence we follow when the goal is to eliminate black streaks without trading one problem for another.
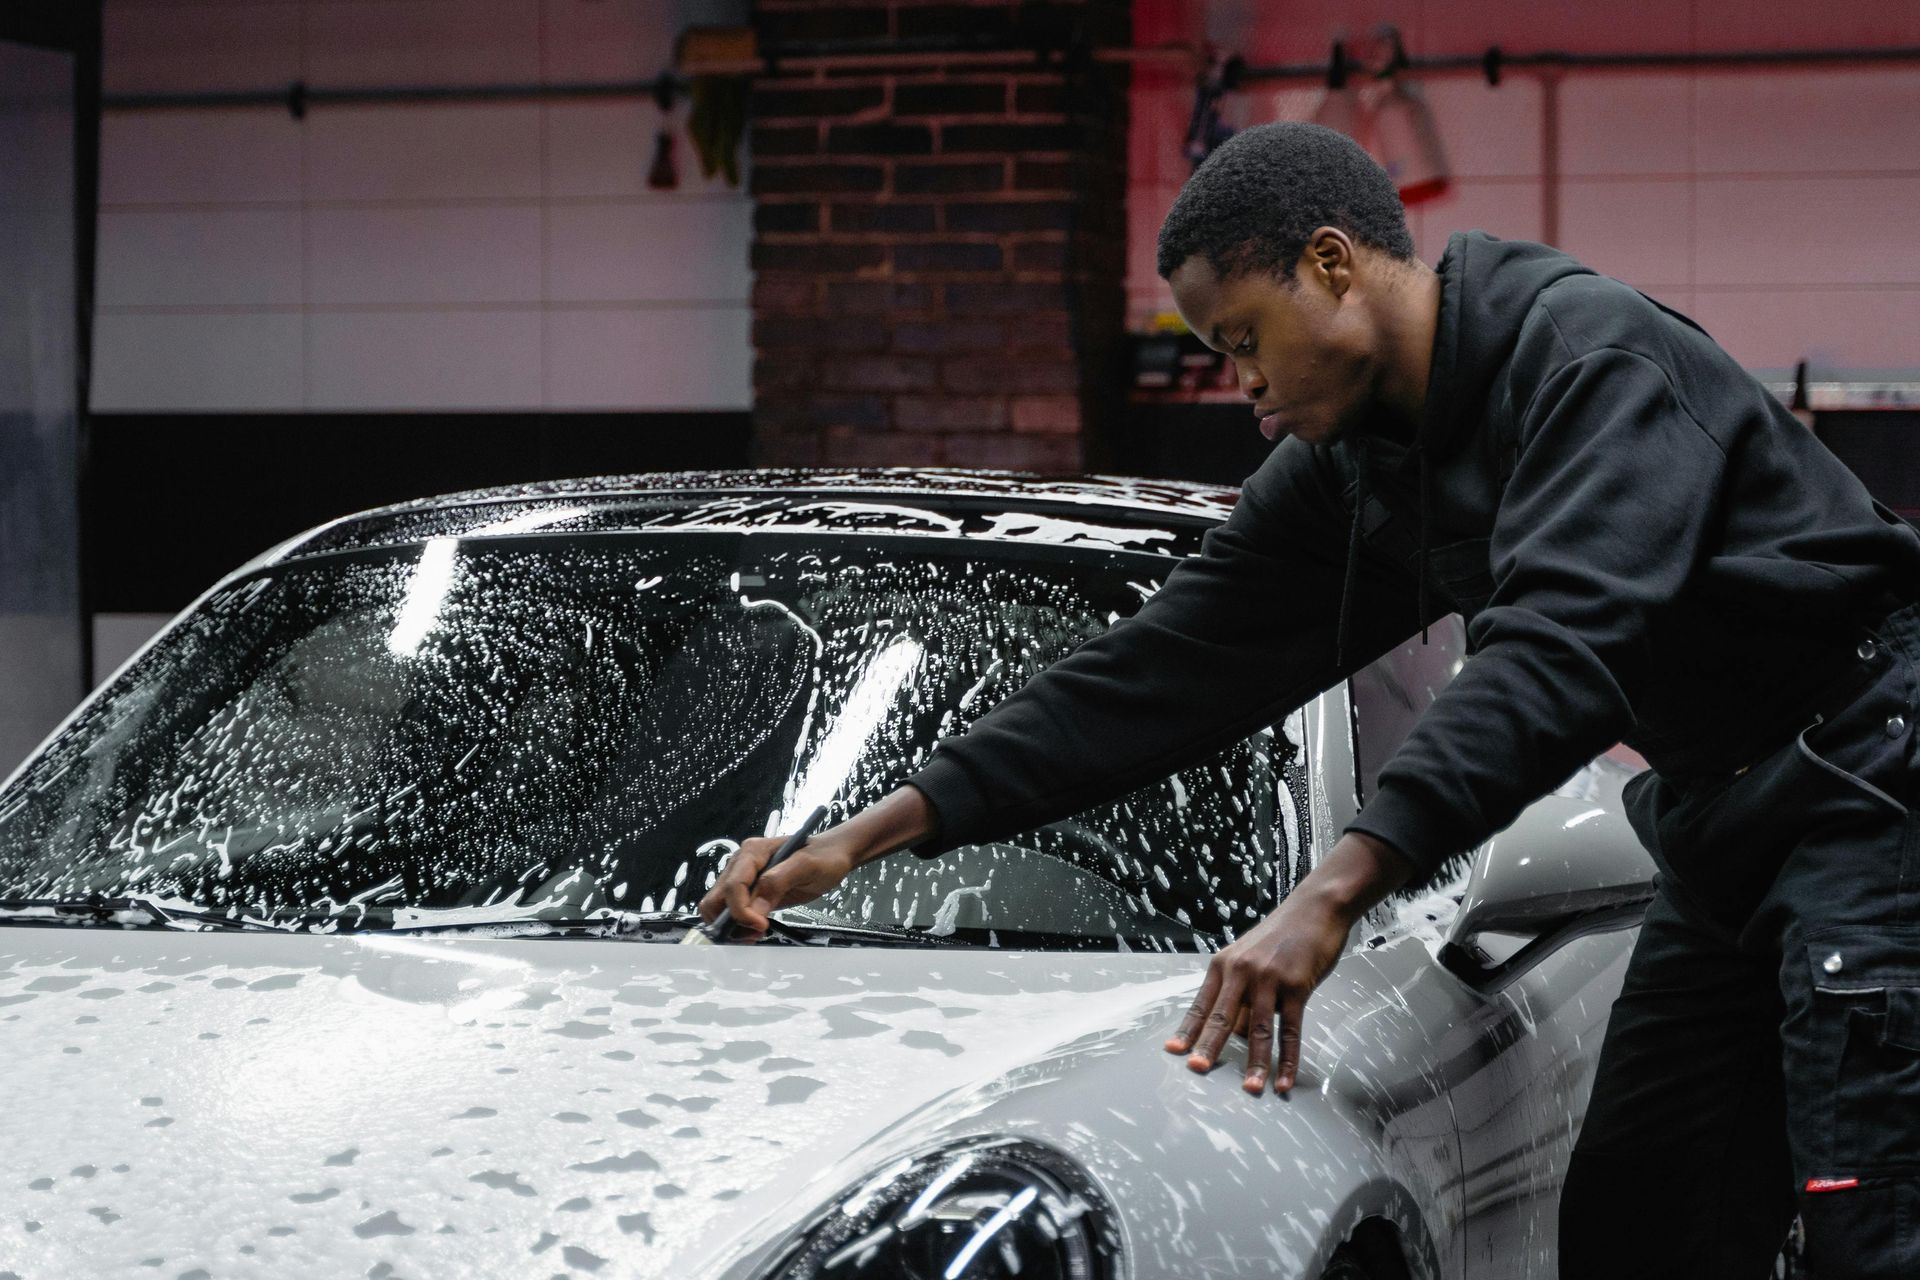
- Pre-rinse with low pressure from the bottom up to hydrate the film, then top down to transport contamination off the surface. Avoid blasting under decals and seals. Apply a pH-neutral, high-lubricity RV shampoo with a foam cannon or by hand. Let it dwell for 3 to 5 minutes out of direct sun to soften the grime. Keep it wet. Agitate streak paths with a dedicated soft microfiber or a flagged-tip brush, then rinse thoroughly. If streaks remain, spot-treat with a safe black streak remover and a short dwell, then wipe and rinse. Decontaminate as needed. On gelcoat, a medium-grade clay mitt and soap as lube can pull bonded residues. Skip clay on matte vinyl. Rinse and dry with plush towels or forced air. Protect the now-clean surface with a durable sealant, polymer spray, or ceramic coating topper, focusing on the streak paths and drip lines.
That sequence stays within a mild chemistry envelope and leans on dwell and mechanical lift rather than brute-force pH. It also builds in the protection step many people skip.
What a pro looks for on the walkaround
When On the Spot Mobile Detailers does RV detailing, the walkthrough starts on the roof. We note gutters, downspouts, and the drip paths that produce those signature vertical lines. EPDM and TPO roofs oxidize and chalk, which feeds the streaks. A white towel test tells you quickly how much roof material is migrating downhill. We also check the condition of window and slide seals. If they are glossy with silicone overspray or breaking down, expect heavier black tracks below them.
On the sidewalls, we map the worst streaks and compare sun and shade sides. The south or west side usually bakes harder, giving you deeper bonding and a little more oxidation. We check for coating history. If the owner has a ceramic coating, the approach changes. Some black streak removers can dull a coating’s hydrophobics. We test a spot with shampoo only to see how much lifts before reaching for a stronger cleaner. Wheel wells and lower skirts tell you about road film and the need for pre-wash. Around the awning mounts and behind downspouts, we look for pitch errors that focus runoff on a small area. Small gutter extensions can be more effective than more aggressive cleaning down the wall.
Black streak removers, decoded
Not all “black streak removers” are equal. The labels often hide a general degreaser. You can tell quickly by smell and feel. Citrus-based products cut plasticizer residue but can swell vinyl if left to dwell too long. Butyl or glycol ether blends hit petroleum soils hard but will haze soft plastics and take the shine off oxidized gelcoat. Enzyme-boosted detergents help with organic soils like mildew staining. Surfactant-only products rely on dwell and agitation.
I keep two categories at hand. First, a gentle, streak-specific cleaner rated safe for vinyl and clear coat. It has modest alkalinity, high surfactant content, and rinse-easy behavior. Second, a more assertive road-film remover that I reserve for lower thirds and only after testing. If either of those fails, I know I am not battling just streaks but oxidation or etched-in deposits, which means polishing.
When polishing is the right move
If you clean and decontaminate and the faint ghost of the streak remains, it is living in the top layer. On gelcoat, a one-step polish with a finishing foam pad can erase the last shadow without cutting aggressively. Gelcoat tolerates more mechanical correction than clear coat, but heat management matters. Keep panel temps under control, and avoid lingering near vinyl.
Painted RV panels, particularly older or thin finishes, need a light-touch polish. A fine finishing polish on a soft foam pad is enough to lift the stain and refine the gloss. If the paint is very soft, trade pad cut for time: do more section passes at lower speed instead of jumping to a more aggressive compound. Remember that polishing removes microns of material. You do not want to “fix” black streaks twice a year by grinding down the surface.
Protection choices that slow the next round of streaks
Any protection is better than none, but not all protections behave the same way on vertical RV sidewalls. Traditional waxes look warm on gelcoat, yet they lose hydrophobic performance within a few washes, especially under UV. Polymer sealants bond better and shed water longer, which reduces the dwell time of dirty runoff. Spray sealants, applied after each maintenance wash, keep that protection topped up without a big day in the driveway.
Ceramic coating has a strong case on RVs that live outdoors. With the right prep, a quality ceramic coating creates a dense, slick surface that limits how deeply grime can anchor. Black streaks still form, because gravity and rain never stop, but they lift much easier and they do not stain as quickly. The trade-off is prep time. A coating locks in whatever you leave behind. That means a thorough decontamination and, often, some level of paint correction or gelcoat refinement first. On the Spot Mobile Detailers has coated Class A and fifth-wheel rigs where the owner’s prime concern was streak management. The owner still rinsed after storms and kept the roof clean, but the sidewalls stayed bright with far less effort.
For wheels and lower trim that suffer the worst road film, a wheel coating or a high-temp sealant helps prevent the grey haze that creeps upward. Use a product designed for metals and high contamination, not a body-panel ceramic unless the chemistry allows it.
Roofs, gutters, and the source of the problem
You can clean black streaks all day, but if the roof feeds them, you are treating symptoms. EPDM and TPO roofs chalk slowly over time. That white residue migrates in rain. A gentle roof wash every couple of months during heavy use does more for your sidewalls than any miracle streak remover. Keep the roof cleaner choice compatible with the membrane. Strong solvents and high pH cleaners can void warranties and damage seams. Work in sections, rinse thoroughly, and avoid sending all the runoff onto one side where it will dry into the paint. Fit gutter extensions or drip rails where runoff patterns create repeat streak paths. A three-dollar piece of plastic can change the way water leaves the roof and save hours of wiping.
Seals and trims need attention too. Silicone sprays overshot onto paint can act like flypaper for soot, which then streaks. Wipe overspray immediately, and if you use conditioners on seals, choose OnTheSpot Mobile Detailers residential coating ones that cure dry. If a seal is deteriorating and smearing black onto your fingers, replace it rather than trying to clean the symptom off the side every month.
A field vignette from On the Spot Mobile Detailers
We were called to an older fiberglass Class C that lived near a busy four-lane road. The owner washed regularly, yet black streaks haunted the passenger side under the awning mounts and window corners. He had tried an off-the-shelf streak remover that worked once, then left the area duller. During our walkaround, the roof towel test came back snow white on the first pass and light grey near the awning rail. The seals above each window were soft and leaching. We cleaned the roof with a membrane-safe shampoo, fitted two small gutter extenders near the awning brackets to redirect runoff, and replaced the worst window seal. On the sidewalls, we used a mild, vinyl-safe streak cleaner with controlled dwell and soft agitation, then a fine polish on gelcoat only where etching remained. We finished with a polymer sealant on the sidewalls and a ceramic coating topper on the high-contact streak paths. Three months later, after summer storms, he sent photos. Light dust trails were present but wiped off with a rinseless wash, and the etched shadows had not returned. The fix was not just chemistry, it was flow control.
Maintenance rhythm that actually works
Deterring black streaks is about habits, not heroics. A quick rinse after a storm moves dirty water off the panels before it dries. A two-bucket wash or a quality rinseless wash every few weeks keeps the protective layer healthy. Top the protection with a spray sealant quarterly if you are not ceramic coated. Inspect gutters and seals seasonally. Clean the roof on a predictable cadence. If you store outdoors under trees, add a light wash the day after heavy pollen or sap drops.
The impulse is to let it ride until the weekend and then attack it with energy and chemicals. That pattern leaves scars over time. The rigs that age well get light, frequent care and thoughtful water management.
Where mobile detailing fits into the picture
Mobile detailing is not just convenience, it is control. Working on-site means dealing with the same water quality and environmental factors your rig sees. On the Spot Mobile Detailers, as a mobile detailing service, adjusts chemistry to local water hardness, which matters when you are chasing streaks in direct sun. Hard water spots combined with black streak residue create rings that need stronger action to remove. Bringing deionized rinse water changes the outcome on hot days and tall rigs where wipe-drying every inch is not realistic.
The flexibility also allows targeted work. If your black streaks are concentrated around a few drip points or downspouts, a pro can attack those zones, refine the surface with light paint correction if needed, then lay a high-slickness protectant in just the right lanes to change how water moves. Over time, that reduces the number of deep cleans you pay for and keeps the rest of the surface out of harm’s way.
When auto detailing discipline beats RV folklore
Much of RV care advice comes from a place of necessity, with people making do at a campsite. That produces a lot of folklore. From an auto detailing perspective, the fundamentals still rule. Use the least aggressive method that works. Separate wash media for upper and lower sections to avoid cross-contaminating with road grit. Replace tired microfibers. Respect dwell time and do not let chemistry dry on the panel. Control heat. Rinse meticulously.
Where RVs diverge is scale and material mix. You cannot carry five machines and three polish systems on every trip, and you do not need to. But thinking like a car detailer, then adapting to RV realities, saves finishes. If a headlight restoration is on your list while you handle streaks, do it after washing and before protection, mask carefully, and keep your compounds off vinyl and porous plastics. If you plan a ceramic coating, sequence it for a cool, shaded day, and prioritize vertical panels first.
The role of coating systems on big rigs
Ceramic coating is not a silver bullet, but it is a strong ally. On tall vertical panels that do not get hand-dried often, a ceramic’s hydrophobics shorten dwell time, which reduces staining risk. Many owners choose a residential coating for the toad vehicle sitting next to the RV at home, then skip the big rig itself because the project feels daunting. The irony is the RV benefits most. A professional application pays off here because of panel height, trim complexity, and the need to maintain even film build around decals and edges. On the Spot Mobile Detailers has coated motorhomes, travel trailers, and fifth-wheels with both consumer-grade and pro-only ceramics. The deciding factors are budget, storage conditions, and willingness to maintain with compatible toppers. With a good base coat, a quarterly topper keeps water behavior lively, so dirty runoff does not cling long enough to draw black lines.
For wheels and hubs, a wheel coating simplifies brake dust removal. Combined with regular tire cleaning, it reduces the dirty wash down onto lower panels. Interior coating, while not directly tied to black streaks, keeps the cockpit and living area from absorbing the same airborne grime that causes streaks outside. When a rig is used near marinas or coastal roads, marine detailing knowledge crosses over. Salt-laden air deposits film that behaves more like boat scumline than highway dust. Products that perform well in marine environments can be the right call in those cases.
Addressing stubborn cases and edge scenarios
Sometimes the streak is not mostly soil. It is a blend of water spotting and etched mineral deposit with a dark halo. In those cases, a mild water-spot remover safe for paint helps, but you have to keep it away from bare aluminum and unsealed stone guards. Neutralize and rinse promptly. If the panel is matte-finish vinyl or paint, skip any acid and focus on surfactant lift plus careful mechanical assistance with a soft towel. Accept that a faint tonal difference may remain and that over-cleaning will do more harm than good.
If a previous owner used harsh chemicals that dulled one section, your cleaning may reveal a panel that looks cleaner yet flatter. That is when a measured pass with paint correction is warranted. Mask vinyl, use a soft foam pad with a finishing polish, and do not chase every last ghost if it means thinning the clear or flattening the gelcoat texture unnaturally.
For rigs wrapped entirely in vinyl, treat them like you would a satin or matte vehicle. Avoid waxes and coatings that add gloss. Black streaks lift with matte-safe cleaners and soft microfiber. Pressure washing at distance helps, but mind seams and edges. A matte-specific sealant provides some repellency without changing the sheen, which can help water sheet instead of track.
A second field lesson from On the Spot Mobile Detailers
A fifth-wheel with full-body paint came in after a long desert trip. The lower thirds were caked with pale dust, yet the black streaks were sharp above each slide. The owner had a ceramic coating applied the previous year. We adjusted the routine to respect the coating. Foam with a pH-neutral soap, long dwell in shade, followed by a gentle rinse. The streaks still showed faintly. We used a coating-safe water spot remover on the streak lanes, wiped lightly, and rinsed. The last traces vanished with a coating topper that restored water behavior. No need for heavy cleaners, and the coating did its job once it was clean again. The owner had assumed the coating failed. It had not. It was just clogged with minerals and grime. This is a common scenario, and the fix is often simpler than it looks.
Safe tools that make the job easier
You do not need a trailer full of gear. A tall RV benefits from a stable platform and long-reach tools. A soft-bristle brush with a flagged tip on a telescoping pole gives you reach without scraping. A flood rinse nozzle helps push contamination down without pressure cutting into seals. Quality microfibers, plush for wipe-off and short-nap for streak work, make a bigger difference than people expect. Retire them often. If you have to use a magic eraser to win a specific spot under a door latch, do it carefully, feather your pressure, and immediately follow with a light polish and protection. Do not let the eraser roam over large areas.
Deionized or softened water is a luxury that pays off, especially when washing in sun or wind. Black streak chemistry plus hard water equals more spotting. Mobile rigs like those used by On the Spot Mobile Detailers carry DI tanks for that reason. If you are at home, an inline filter or a simple rinse aid can help if DI is not an option.
Putting it all together
Eliminating black streaks safely is less about a magic product and more about a system. Start with the source on the roof. Choose the least aggressive cleaner that works on the sidewall material you have. Leverage dwell and soft agitation. Escalate to spot products as needed, then stop before you scuff. If a faint stain remains, polish lightly, only where required. Lock in the win with protection suited to RV realities, whether that is a polymer sealant you can refresh easily or a ceramic coating that carries the heavy load through seasons of use. Keep water moving off the rig cleanly with gutter tweaks. Maintain lightly and often.
The rigs that look bright year after year are not the ones that get punished clean twice a season. They are the ones that get smart care, applied calmly, with respect for materials. Detailing disciplines from auto, marine, and even residential coating work all inform the right approach. When you need help or want a second set of eyes on stubborn streaks, a mobile team that understands paint correction, vinyl care, and coating chemistry will save you time and surface life. On the Spot Mobile Detailers lives at that intersection, bringing the right blend of auto detailing technique and RV-specific judgment to keep black streaks from writing the story of your sidewalls.